Every so often I need a simple piece of code to make my life easier. Like “back in the day” when we needed an XSL template that belched every property out into the Search Results, so that we could see what we were doing. This is one of those pieces of code.
Create a Diagnostic Display Template
Follow the directions that I detailed for creating a new display template in SharePoint 2013. Once you have that complete, locate the RenderBody code and surrounding div tags. In the Item_Default template it looks like this:
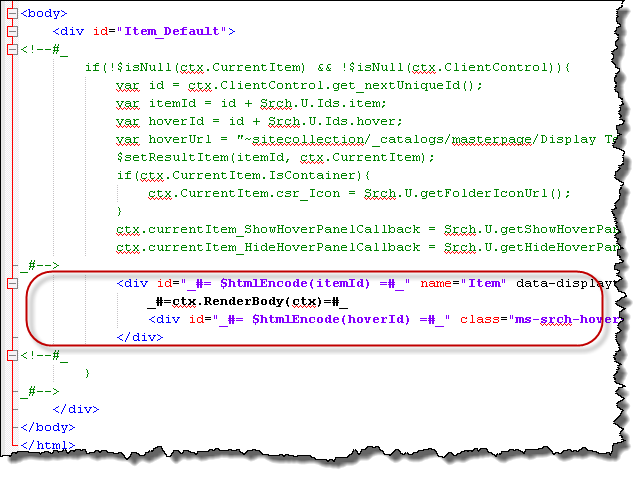
Replace all of the body code with the following code, being careful the get the matching open and close tags.
<div id=”Item_PropertyList”>
<!–#_
  if(!$isNull(ctx.CurrentItem)){
    for (var key in ctx.CurrentItem)
    {
      var value = ctx.CurrentItem[key];
      console.log(“Value: ” + value);
      _#–>
      <div> _#= $htmlEncode(key) =#_ : _#= $htmlEncode(value) =#_ </div>
      <!–#_
    }
  }
_#–>
<hr>
</div>
Test Your Work
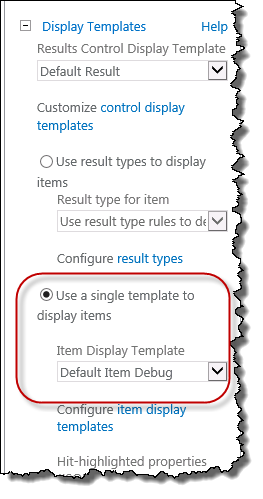
Follow the guidance in the new display template in SharePoint 2013 post and create a result type rule for your Display Template. Or, in my case I just override the Default Display Template rendering in the Search Core Results web part and force it to Use a single template to display items.
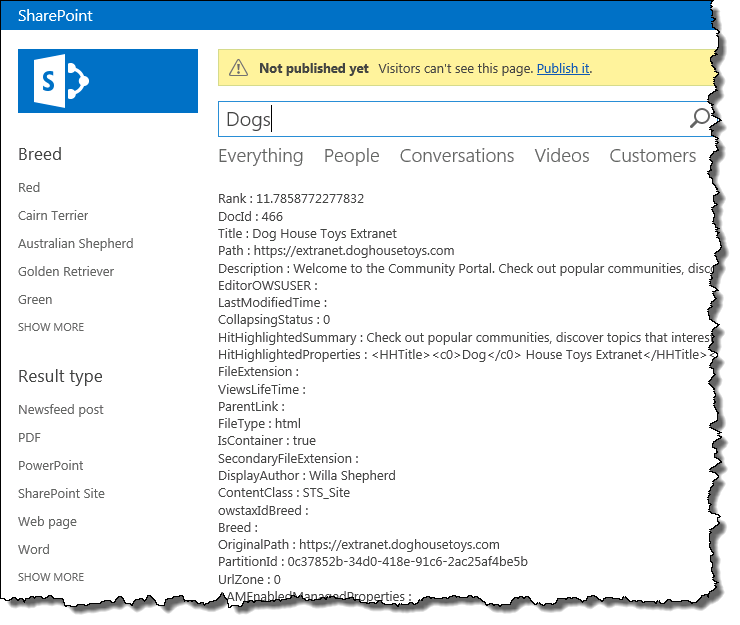
Once you save the page and test it you should see the fruits of your labor.
Next Steps
If you don’t see the Managed Property that you want to work with in your results, add them to the mso:ManagedPropertyMapping markup in the Display Template and try again. This is the fun part of working with Display Templates.