There are many “patterns” in the SharePoint work that I do. Repeatable processes that change little from client to client. One of my favorite patterns is the “Blog Host”. A site collection that contains many blog sites. Like many of our favorite blog locations, our corporate customers have fairly straight forward requirements for their blog sites. Whether you plan to use the vanilla blog site out of the box or spruce things up a bit with the Community Kit for SharePoint® Enhanced Blog Edition ([CKS:EBE](http://www.codeplex.com/CKS/Wiki/View.aspx?title=Enhanced Blog Edition&referringTitle=Home)), little consideration is given to the home page for the blog site collection.
In our case we needed to host several blog sites and create a site collection home page that:
- Rolled up the last 10 recent posts
- Display the Title, Publish Date, Author, and complete post
- Order by Publish Date
- Provide the same information in an RSS feed
- Display a list of blog sites by site name and description
- Provide a search site for all posts
This series of posts will walk through the construction of our blog host and the installation and configuration of CKS:EBE. The steps are:
- Create a web application for our site
- Create a publishing site for the root of our site collection
- Configure the publishing site to create blog sub webs
- Create sample blog sites
- Add, Deploy and Activate the CKS:EBE solution and Tag Cloud web parts
- Copy the themes to the blog sites
- Create the host home page
- Start blogging!
Create the web Application for our site
- In Central Administration | Application Management choose Create or extend web application.
- On the Create or extend web application page choose Create new Web application.
- Complete the necessary information on the Create New Web Application page and click OK to create the web application.
Create a Publishing site
- In Central Administration | Application Management choose Create site collection.
- On the Create Site Collection page ensure that the web application for your blog host is selected and complete the site collection information.
- In the Template Selection section select the Publishing tab and choose the Publishing Portal site collection.
- Complete the rest of the information and click OK to create your site collection.
Configure the publishing site
-
Navigate to your new site and it should look like this:
-
We need to prepare this site to host our blog sites and roll up the content.
-
Change the site templates by choosing Site Actions | Site Settings | Modify All Site Settings.
-
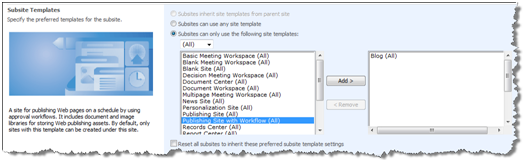
In Site Settings choose Page layouts and site templates.
-
On the Page Layouts and Site Template Settings page remove the Publishing Sites and add the Blog site template.
-
Choose OK to save your settings.
Create a sample blog site
-
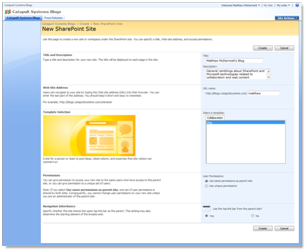
Choose Site Settings | Create Site.
-
Your only site template option should be Blog:
-
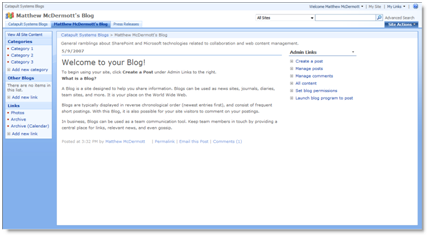
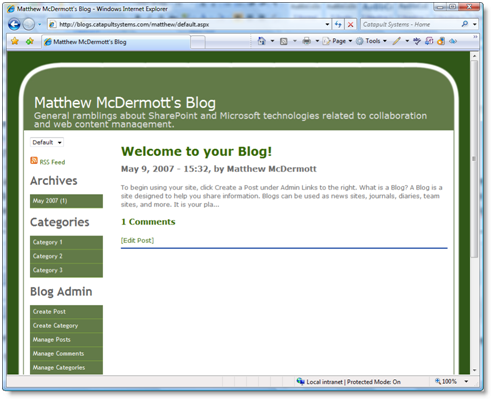
Complete the site information including the necessary permissions information and click Create. Your new blog site should look like this:
-
Create one or two more blog sites to use as test sites for the rest of this article. This is our home page menu after creating two additional sites:
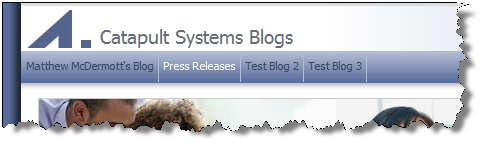
-
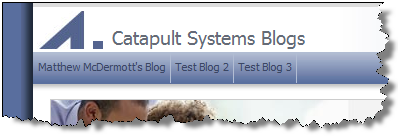
We don’t need press releases right now so to remove them from the navigation click Site Actions | Site Settings | Modify Navigation.
-
Choose the Press Releases site and choose Hide. Click OK to save your settings. Your home page navigation should now show your 3 blog sites:
Add, Deploy and Activate CKS:EBE
-
Download CKS:EBE and the Tag Cloud web parts from CodePlex.
-
Add CKS:EBE to the farm by typing:
Stsadm –o addsolution –filename CKS.EBE.wsp -
Add the Tag Cloud solution to the farm by typing:
Stsadm –o addsolution –filename CKS.TagCloud.Solution.wsp -
Deploy each solution by typing:
Stsadm –o deploysolution –name CKS.EBE.wsp –immediate –allowgacdeployment Stsadm –o deploysolution –name CKS.TagCloud.Solution.wsp –immediate –allowgacdeployment –url http://<your blog host> -
Run the timer jobs with:
Stsadm –o execadmsvcjobs -
Next activate the web application features on your blog host by running:
stsadm -o activatefeature -name "CKS EBE WebApp" -url http://<your blog host> -
Finally activate the CKS:EBE Extensions and TagCloud web part on each blog site. From your blog site home page (http://
/blog) choose Site Actions | Site Settings. On the Site Settings page choose Site features. On the Site Features page choose the Activate button next to the features “CKS:EBE Extensions” and “Community Kit for SharePoint 2.0 – TagCloud Web Parts”. Your page should look like this: 
-
Return to the home page of your blog site and you should notice a dramatic difference:
Add CKS:EBE themes to your blog site
-
Download the CKS:EBE themes from
-
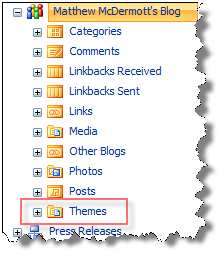
CKS:EBE added a number of new lists and libraries to our site. From site settings choose Content and structure.
-
We are interested in “Themes”. Click Themes.
-
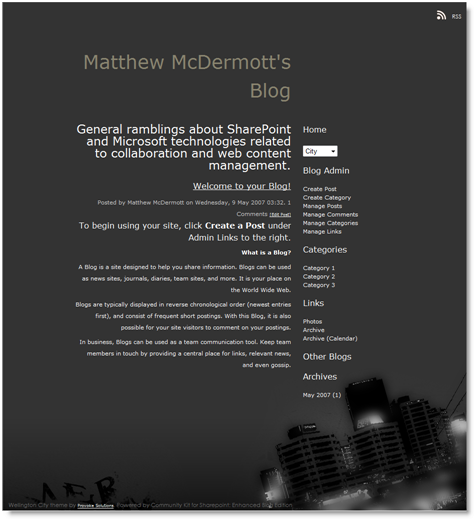
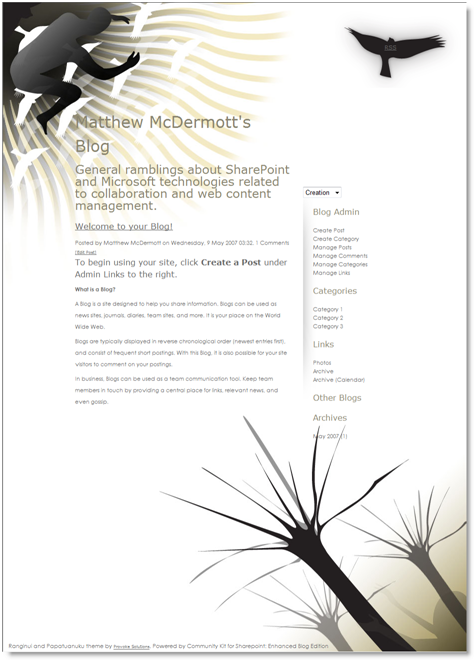
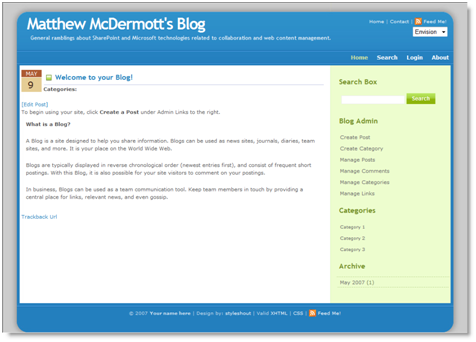
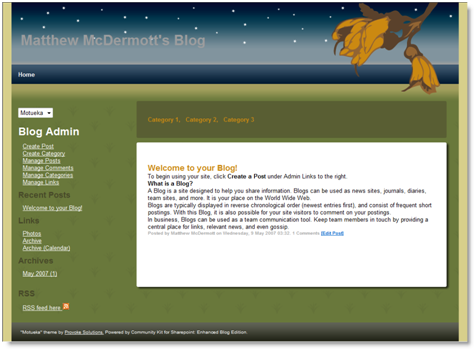
CKS:EBE Beta 2 deploys with 2 themes: Default and Wildlife. You can add the additional themes: City, Creation, Envision, Motueka and Raglan. Simply create a new folder for each theme in the Themes library. From the library toolbar hover click New and choose Folder.
-
On the New Folder page enter the folder name City and click OK.
-
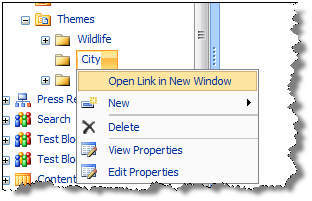
From the tree view hover click the City folder and choose Open link in new window.
-
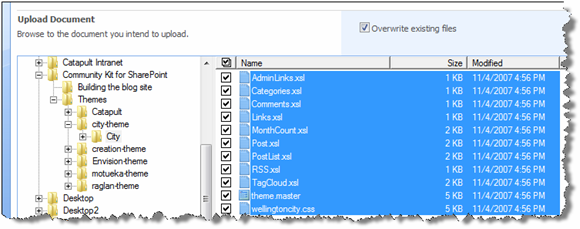
From the toolbar choose Upload | Upload Multiple Documents. Browse to the location where you unzipped the City theme and select all files. Click OK to upload the files.
-
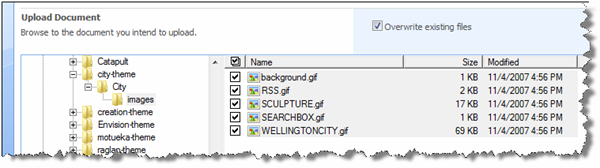
From the toolbar choose New | Folder. Name the folder Images. Click OK to create the folder. In the library click Images to open the folder. Choose Upload | Upload Multiple Documents. Browse to the images directory in the themes folder and select all the images. Click OK to upload the images.
-
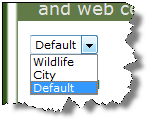
Test your work by returning to your Blog site hoe page and click the theme selector. You should see the City theme in the drop down.
-
Choose the City theme and your site should look similar to this:
-
Repeat these steps for the other themes.
Creation
Envision
Moteuka
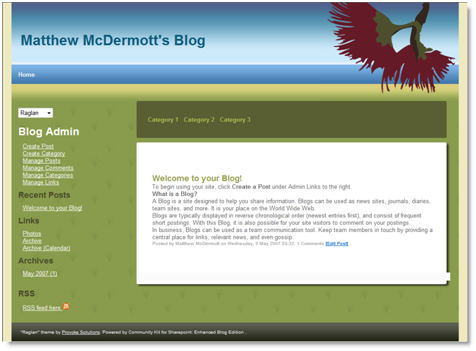
Raglan
Next Steps
My next post will detail how we created our blog host home page.